Review and select photos
Browse the project gallery and choose which photos to send for retouching.
When the studio hands you a project, your first task is to choose the photos to retouch. Only the photos you select will go for retouching: it's an important step.
Open the gallery
From Projects, click the project in question. Its gallery opens, shown as thumbnails.
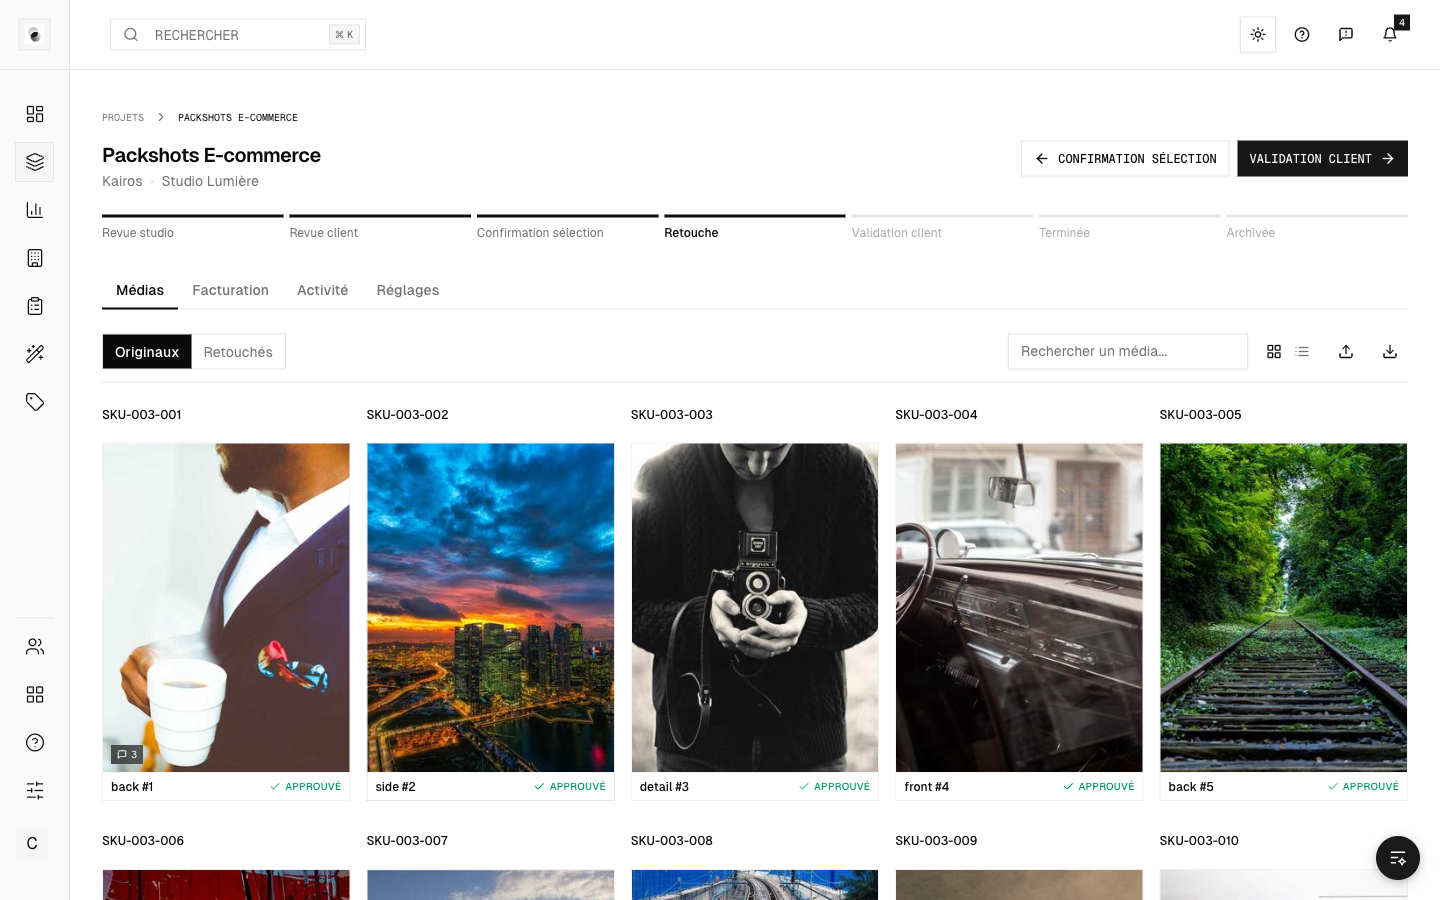 A project gallery
You can choose between two views:
- Grid — many thumbnails at once, ideal for skimming through the whole set.
- List — one photo per row, with more detail (name, product reference).
A toolbar lets you search, filter and refresh the gallery.
View a photo full size
Click a thumbnail to open the viewer in full screen: you can zoom, move around the image and switch from one photo to another. For all the details, see The media viewer.
Select the photos to retouch
Check the photos you want retouched. You can:
- check thumbnails one by one;
- use Select all or Deselect all to go faster;
- track the number of photos chosen in the selection bar.
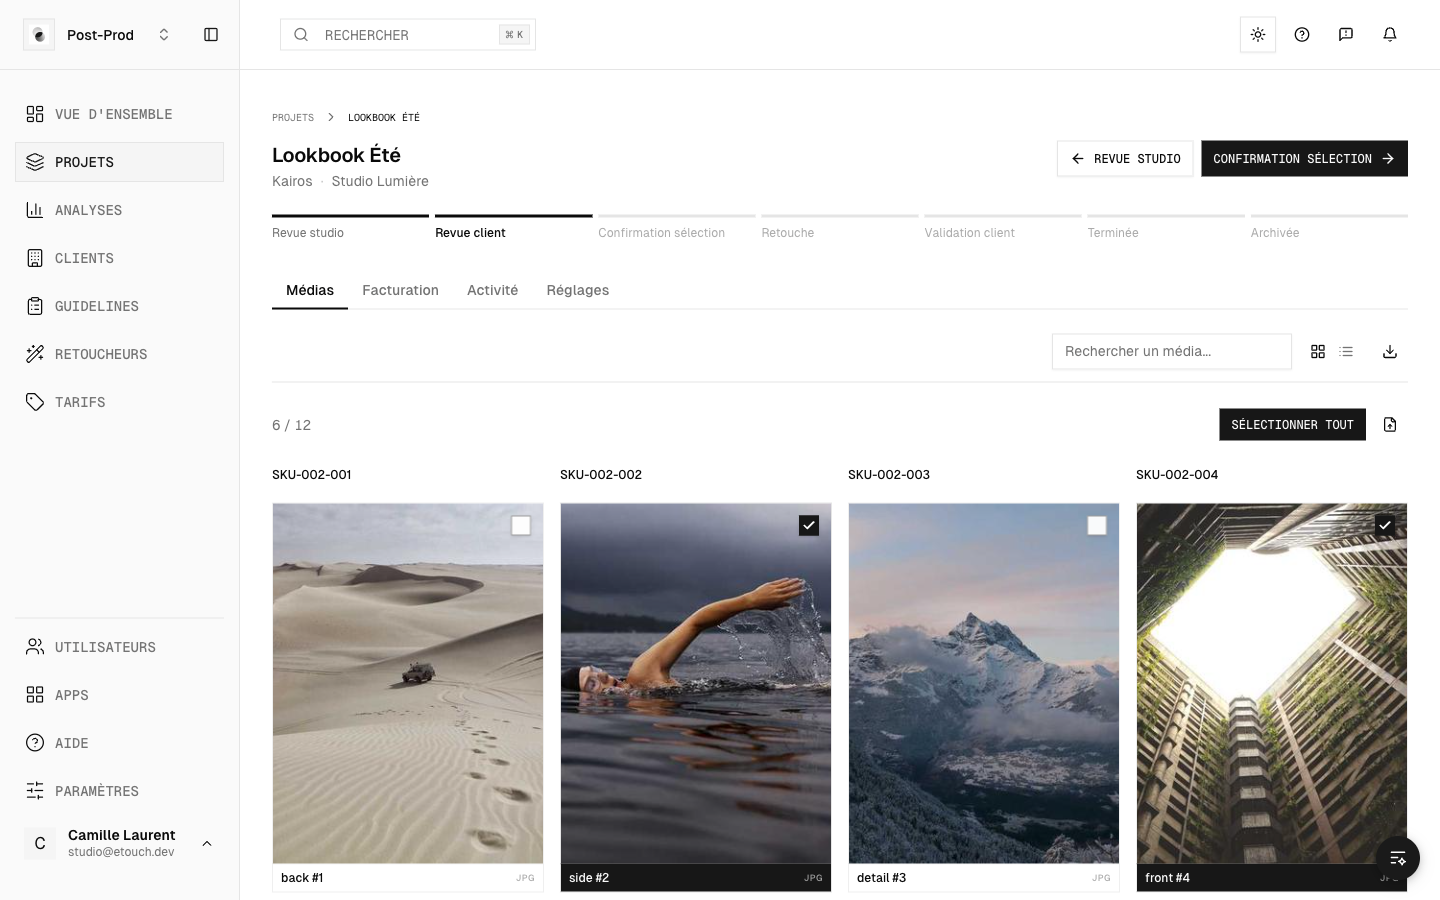 Selecting photos
Confirm your selection
Once you've settled on your choice, confirm the selection. The project moves to the next step and the studio takes over to organize the retouching.
Not sure about a photo? You can comment on it before confirming, to explain to the studio what you're expecting. See Annotate and comment on a photo.