Upload your retouched versions
Send your retouches to the project so they go out for client validation.
Once your retouches are done, you upload them to the project. They'll then be submitted to the client for validation.
When to upload
You step in when the project is at the In retouch stage. The photos to work on are the ones the client selected.
How to upload
- Open the project and find the photo to update.
- Use the Upload retouch action.
- Select your retouched file: it attaches to the original photo as a new version.
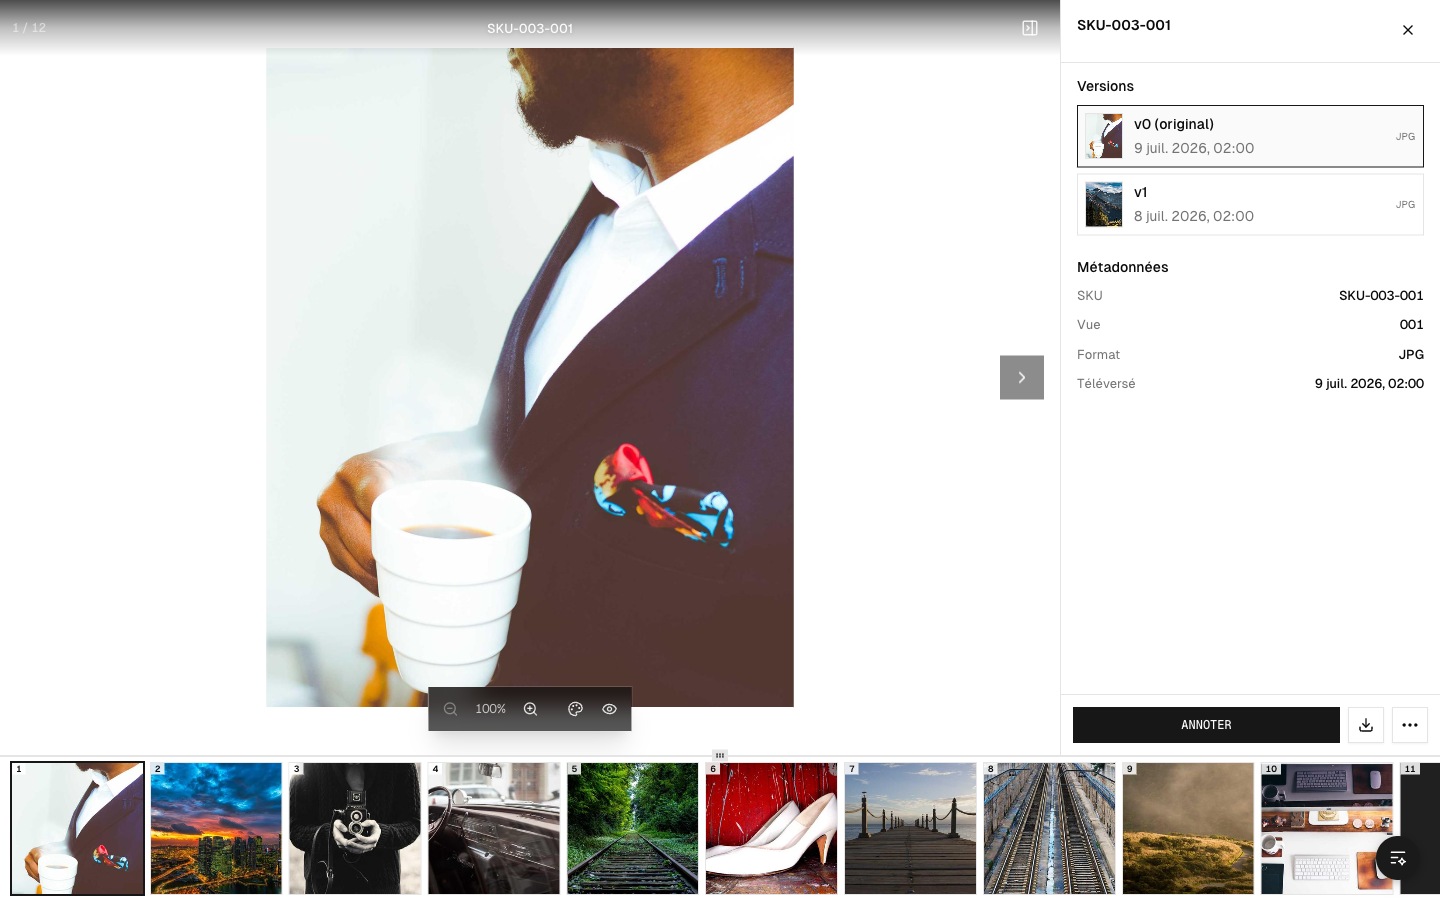 Uploading a retouch
The original photo and your retouched version stay linked: the client will be able to compare them with the before / after slider.
Match the right file
Make sure each retouched file matches the right original photo. A poorly matched retouch will be hard for the client to validate.
Send for validation
When all the expected retouches are uploaded, the project can move to Client validation. The client then approves or rejects each photo (see The retouch rounds (handling revisions)).
Tip: upload a whole series before submitting it, rather than photo by photo, so the client discovers it all at once.